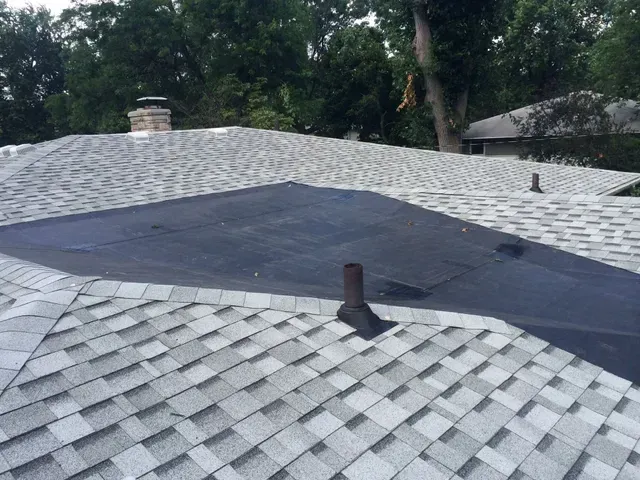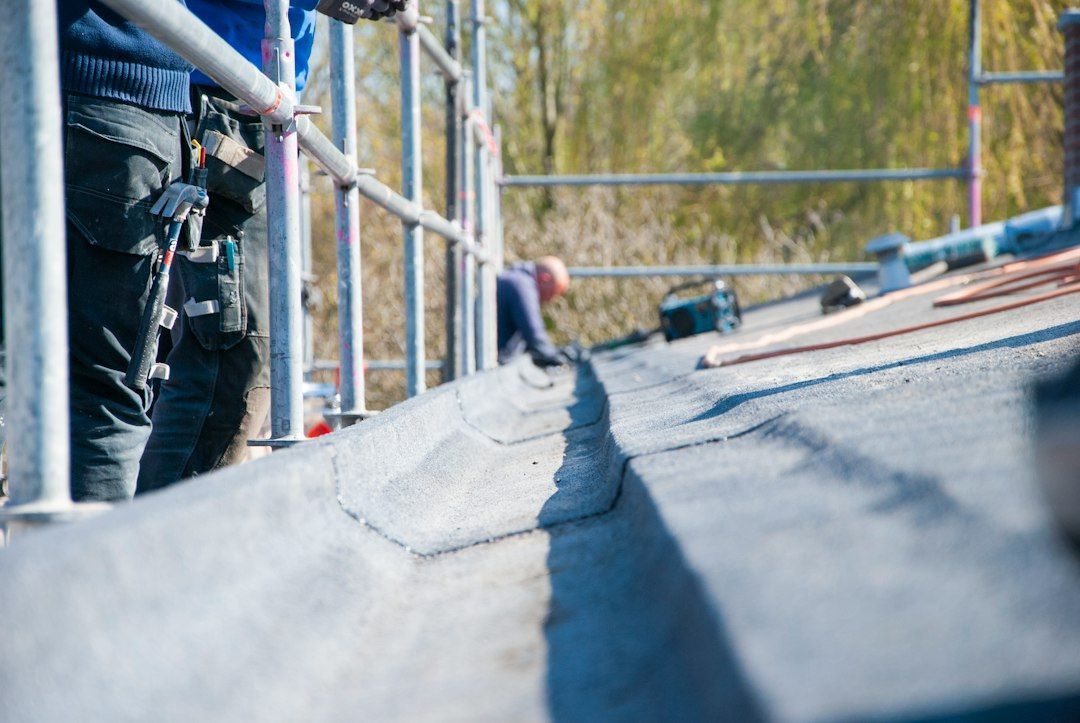
How to Start an Aluminum Roof Leak Repair
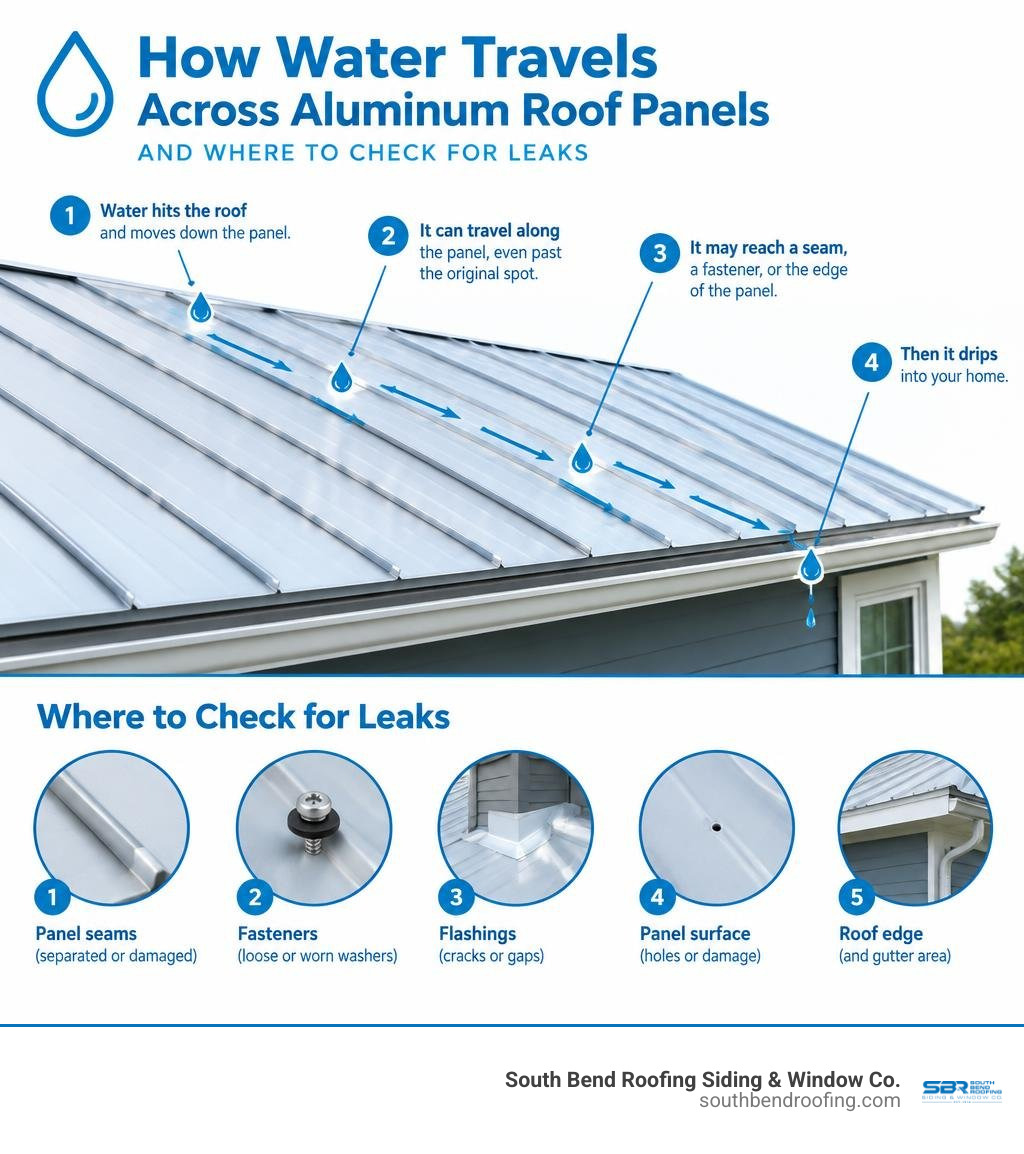
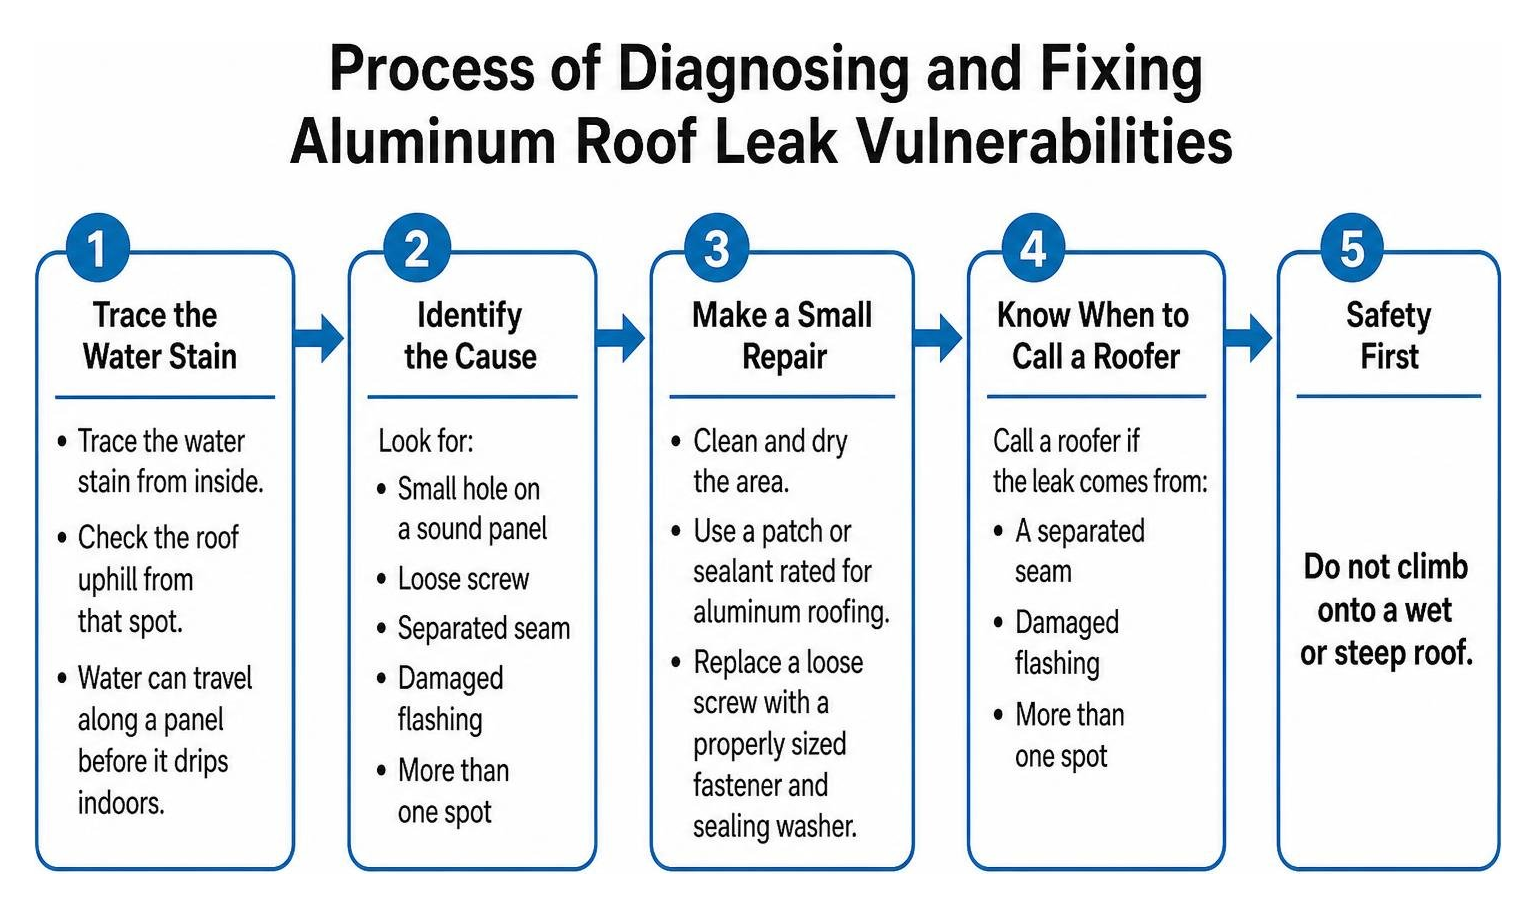
For a small aluminum roof leak repair, first trace the water stain from inside and check the roof uphill from that spot. Water can travel along a panel before it drips indoors. If you find a small hole on a sound panel, clean and dry the area, then use a patch or sealant rated for aluminum roofing. Replace a loose screw with a properly sized roofing fastener and sealing washer. Do not climb onto a wet or steep roof. If the leak comes from a separated seam, damaged flashing, or more than one spot, call a roofer.
I'm James Spillman, vice president at South Bend Roofing Siding & Window Co., where we've provided roofing services since 1914. My work supporting roof repairs and installations in Indiana and Michigan informs this guide to aluminum roof leak repair.
Common Causes of Leaks in Residential Aluminum Roofs
Aluminum roofing provides exceptional longevity and natural resistance to the elements, but it is not completely immune to wear and tear. Over decades of exposure to Midwest weather, specific vulnerabilities can develop. Understanding why leaks happen helps you target your repair efforts effectively:
- Fastener Failure: Exposed screws rely on small neoprene or EPDM rubber washers to keep water out. Over 10 to 20 years, ultraviolet rays and temperature shifts degrade these washers, making them brittle or cracked. In other cases, screws back out due to standard roof movement, allowing rain to follow the screw threads directly into your roof deck.
- Thermal Expansion and Contraction: Metal panels expand when heated by the summer sun and contract during freezing winter nights. This continuous movement places significant shear stress on mechanical fasteners, slowly elongating screw holes or pulling panel laps apart.
- Seam Separation: Standing seams and overlapping panel joints rely on factory crimps or specialized sealants. Severe seasonal movement or strong wind uplift can pull these seams apart, breaking the weather-tight bond.
- Surface Oxidation and Galvanic Corrosion: While aluminum forms a protective oxide layer that resists traditional red rust, it can suffer from pitting corrosion if acidic debris sits on the surface. Furthermore, using improper fasteners—such as standard galvanized steel screws on bare aluminum—causes galvanic corrosion that rapidly eats away the surrounding metal.
- Puncture Damage: Heavy tree branches, severe hail strikes, or dropped tools during routine maintenance can puncture or gouge aluminum panels.
- Penetration Flashing Wear: Roof penetrations, such as plumbing vents, exhaust fans, and chimneys, rely on specialized flashing to divert water. If old sealant along these flashings cracks or lifts, water easily slips beneath the panels.
How to Safely Locate the Source of an Aluminum Roof Leak
Finding a leak on a metal roof requires some detective work because water rarely enters directly above where it drips into your living room. Instead, water enters through an exterior breach, runs down the slope along the underside of the panel or roof rafters, and finally drips through the lowest accessible point in your ceiling.
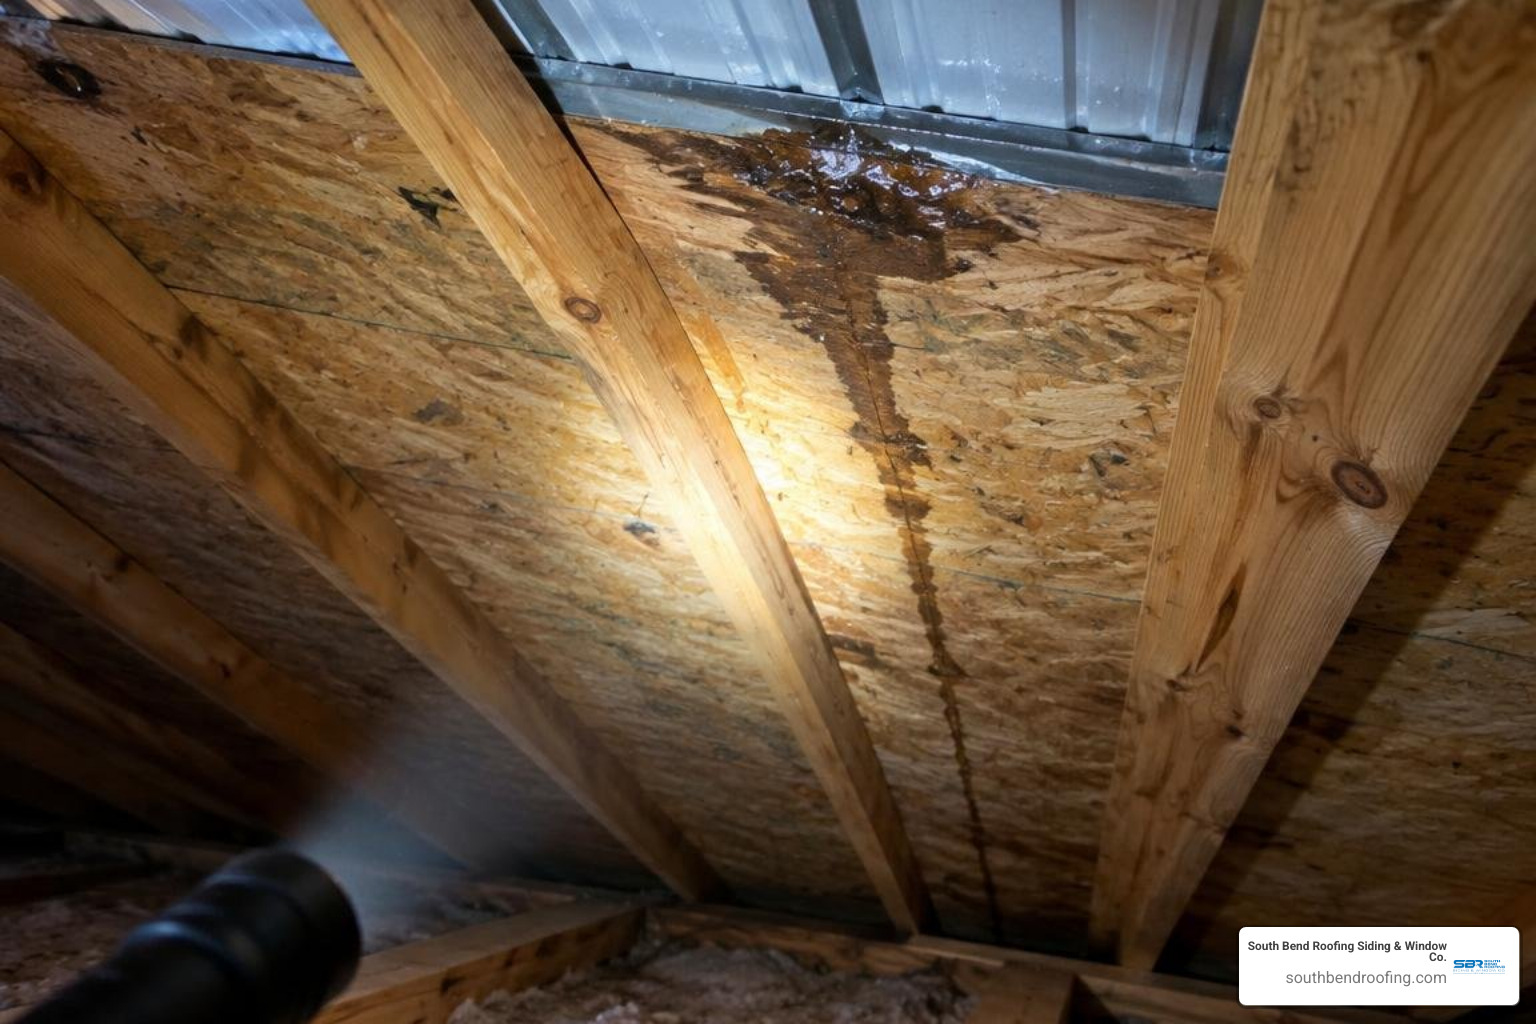
1. Interior Inspection and Attic Tracing
Start your search inside your home during or immediately after a rainstorm:
- Examine the Ceiling: Note the location of damp drywall or water stains.
- Head into the Attic: Carry a bright flashlight. Check for damp wood framing, wet drywall, or darkened water tracking marks on the roof sheathing.
- Trace Upward: Follow moisture trails up the framing toward the ridge. The actual roof penetration is almost always uphill from the interior stain.
- Look for Daylight: On sunny days, turn off your attic lights and look for pinpricks of daylight showing through the roof deck.
2. Exterior Roof Safety and Inspection
If you need to access the roof surface, safety is the top priority:
- Footwear Traction: Always wear soft-rubber-soled shoes that maximize grip on smooth metal surfaces without scratching the protective finish.
- Surface Conditions: Never step onto a wet, frosty, or dew-covered aluminum roof. Metal panels become extremely slick with minimal moisture.
- Ladder Safety: Secure your ladder on stable, level ground and extend it at least three feet past the roof eave. Tie it off securely at the top to prevent side slippage.
- Walking on Panels: Step only where the panels are directly supported by solid roof decking or framing purlins beneath, and avoid stepping directly on raised seams or ribs to prevent panel deformation.
Essential Tools and Materials for Aluminum Roof Leak Repair
Having the correct materials on hand ensures a lasting, watertight repair. Using improper products—like standard silicone not rated for exterior roofing, or generic tar that cracks in the cold—will only cause the repair to fail within months. Learn more about safe roof sealing methods to ensure proper application standards.
Recommended Tool and Material Checklist:
- Stiff wire brush and 120-grit sandpaper
- Denatured alcohol or mineral turpentine with clean lint-free cloths
- High-grade polyether or UV-resistant exterior metal roof sealant
- Gibraltar butyl tape or elastomeric patch tape
- Self-drilling aluminum or coated stainless steel roofing screws with intact EPDM/neoprene washers
- Caulking gun and plastic smoothing spatula
- Sheet metal shears and a matching piece of aluminum flashing (for larger patches)
- Rust-inhibiting primer and color-matched exterior metal paint
| Repair Material | Best Application | Key Advantage | Lifespan Expectancy |
|---|---|---|---|
| Polyether / MS Polymer Sealant | Fastener heads, seam sealing, flashing gaps | High flexibility, bonds in damp conditions, excellent UV resistance | 15–20 Years |
| Butyl Tape | Overlapping seams, under metal patches | Remains permanently flexible, won't dry out or squeeze out thin | 15–25 Years |
| Rubberized Patch Tape | Punctures, small splits, temporary emergency patches | Fast installation, creates instant watertight barrier | 5–10 Years |
| Aluminum Sheet Patch + Sealant | Holes larger than 1/4 inch, torn panels | Matches thermal expansion of roof, provides permanent structural seal | 20+ Years |
Step-by-Step Techniques for Repairing Specific Aluminum Roof Leaks
A successful repair depends heavily on careful surface preparation. Sealants and patch tapes cannot adhere to oxidized aluminum dust, pollen, or old, cracked caulking.
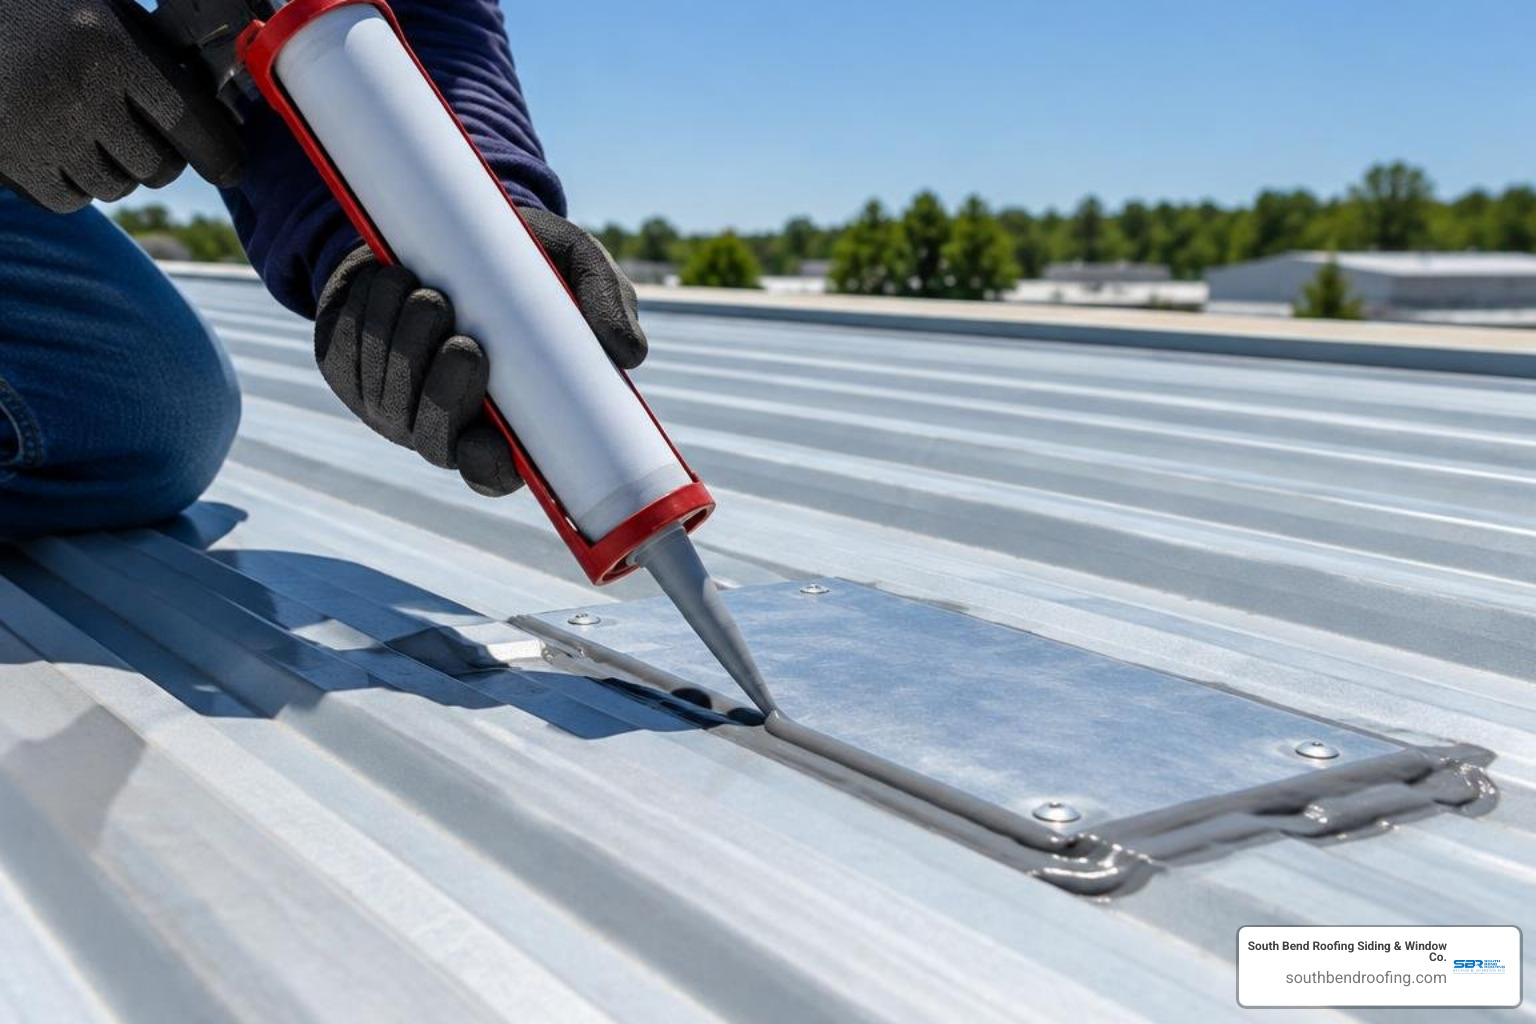
Fixing Punctures and Corrosion Damage
For small punctures caused by storm debris or isolated corrosion spots:
- Clean and Prep the Surface: Scrub the damaged area with a stiff wire brush and 120-grit sandpaper to remove loose oxidation, dirt, and peeling finish. Scuff the metal 2 to 3 inches beyond the damage to give the new sealant a textured surface for mechanical bonding.
- Degrease: Wipe down the entire area thoroughly with a clean rag dampened with denatured alcohol. Allow it to flash dry completely.
- Treat Oxidation: If the aluminum surface shows signs of pitting, apply a thin coat of rust-inhibiting metal primer designed specifically for non-ferrous metals.
- Seal Small Holes (Under 1/4 Inch): Apply a generous bead of polyether or high-performance silicone sealant directly into and over the hole. Use a plastic spatula dipped in mild soapy water to smooth the sealant, feathering the edges outward so water sheds easily without pooling.
- Patch Larger Punctures (Over 1/4 Inch):
- Cut a patch from matching aluminum sheet stock that extends at least 2 inches beyond the damaged area on all sides. Round off the corners of the patch with shears to prevent corners from lifting.
- Apply double-sided butyl tape or a continuous perimeter bead of polyether sealant around the underside of the patch.
- Press the patch firmly over the hole, ensuring no air bubbles are trapped.
- Secure the patch using self-drilling roofing screws spaced roughly 1.5 inches apart around the perimeter.
- Smooth a solid layer of exterior sealant over the patch edges and screw heads to create a complete seal.
Step-by-Step Aluminum Roof Leak Repair for Fasteners and Seams
Fastener leaks and open laps are among the most common issues on residential metal roofs. Understanding proper methods for sealing metal roof surfaces ensures your repairs hold up against heavy rainfall:
- Inspect Screws: Locate any fasteners that have backed out, stripped their threads, or have cracked rubber washers.
- Remove and Replace: Back out the compromised screw. Replace it with an oversized roofing screw (for example, stepping up from a #10 to a #12 screw) equipped with a fresh EPDM washer. The slightly wider diameter ensures a tight bite into the underlying wood deck.
- Tighten Correctly: Drive the screw until the washer expands to the exact edge of the metal screw head. Do not over-tighten , as crushing the washer will cause it to split and leak.
- Reseal Separated Seams: If horizontal panel laps or vertical standing seams show gaps, clean out old sealant with a scraper. Apply butyl tape between the overlapping panels if accessible, re-secure the seam with stitch screws, and apply an external bead of elastomeric sealant along the seam edge.
Sealing Around Roof Penetrations, Chimneys, and Flashing
Penetrations break the continuous plane of your roof and require durable flashing seals:
- Examine Pipe Boots: Inspect rubber pipe boots around plumbing stacks for cracking, tearing, or dry rot. If the rubber is brittle, install a split-boot replacement or seal minor splits with polyether sealant.
- Check Counter-Flashing: Along chimneys and wall transitions, ensure the metal counter-flashing is firmly embedded in the mortar or siding.
- Remove Failed Caulk: Scrape away old, dried caulk lines with a putty knife.
- Apply Fresh Sealant: Clean the joint with denatured alcohol, then apply a thick, smooth bead of exterior-grade sealant along the top lip of the flashing, tooling it downward so water runs off smoothly.
Determining When to Repair vs. Calling a Professional
While addressing minor holes, loose screws, or small flashing separations is manageable for handy homeowners, certain roof conditions demand professional expertise and specialized equipment. Wood framing begins to degrade when exposed to sustained moisture levels above roughly 19%, and mold colonies can establish themselves in as little as 24 to 48 hours after water enters your attic.
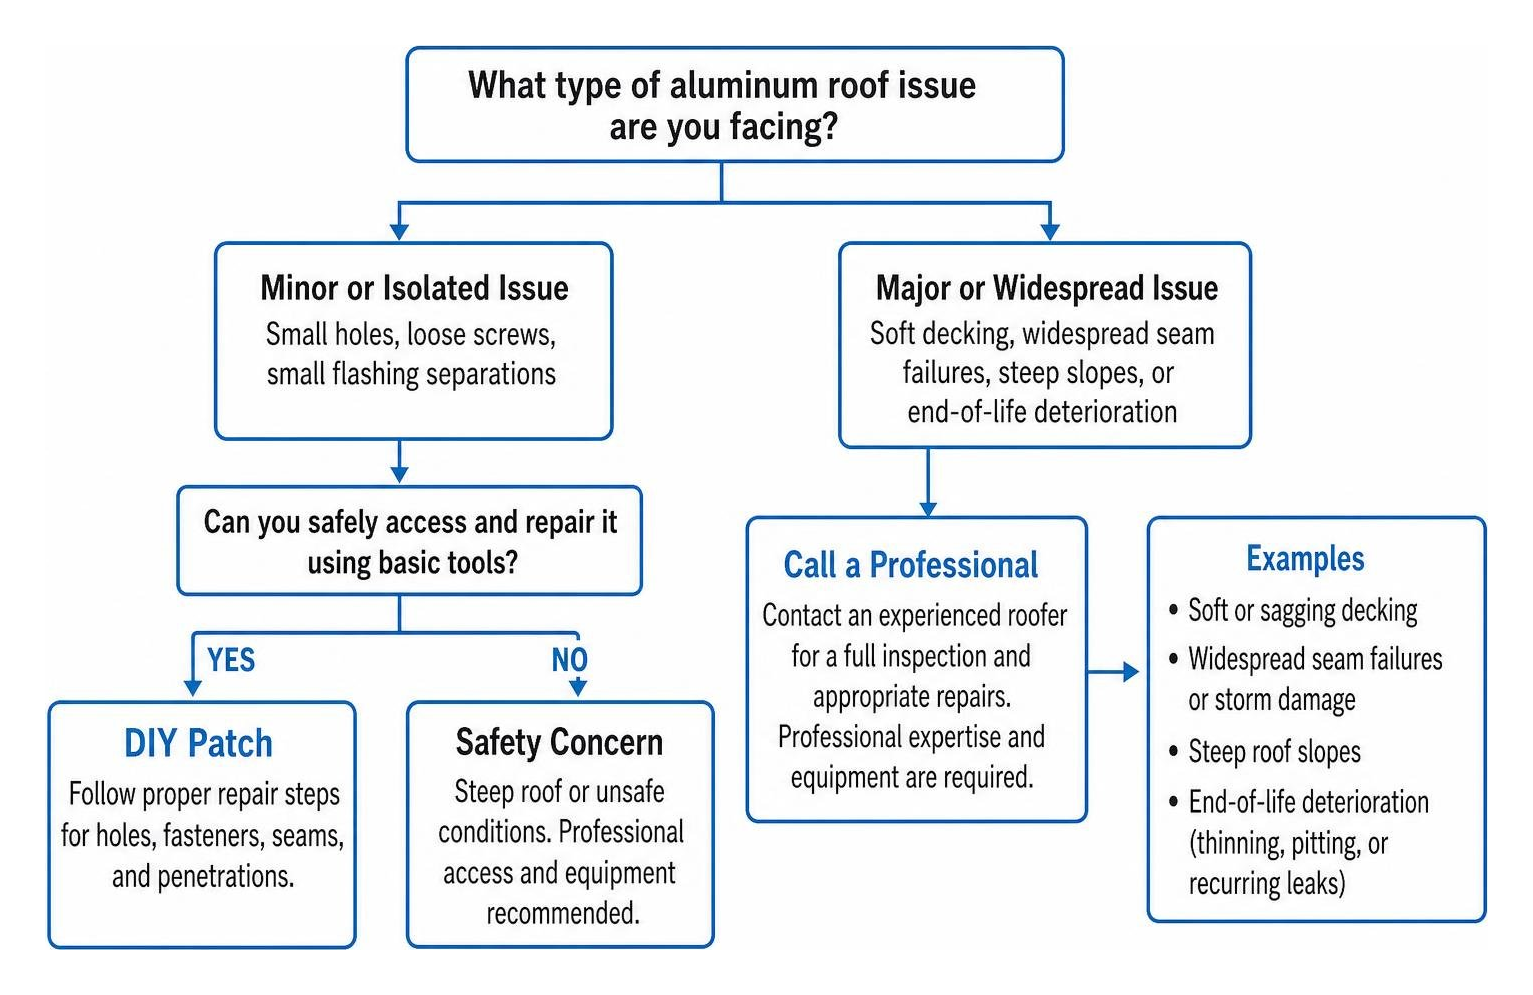
You should transition from a DIY repair to contacting an experienced roofer under these circumstances:
- Soft or Sagging Decking: If the roof decking beneath the panels feels spongy underfoot, significant moisture rot has occurred, requiring panel removal and carpentry repairs.
- Widespread Seam Failures: Multiple leaking seams or extensive storm uplift damage indicates system-wide movement that simple surface patches cannot resolve.
- Steep Roof Slopes: Working on high-pitch or multi-story metal roofs poses severe fall hazards that require OSHA-compliant tie-offs and professional staging.
- End-of-Life Deterioration: If your roof suffers from widespread panel thinning, extensive pitting, or recurring leaks across multiple slopes, a full system assessment is warranted. We provide comprehensive residential roofing services to diagnose complex leak issues, as well as complete roof replacement and tear-offs when older assemblies reach the end of their service life.
Professional vs. DIY Aluminum Roof Leak Repair Considerations
A single tube of roof sealant costs relatively little, but applying a temporary patch over a severe, undetected leak can lead to extensive rot in rafters and ceilings over a wet season. A professional roofing contractor provides a thorough diagnostic assessment, verifying the integrity of the underlying decking, underlayment, and fastener patterns while backed by workmanship and manufacturer warranty coverage, and our team will gladly explain the details of your coverage.
Preventative Maintenance to Keep Aluminum Roofs Watertight
The best way to handle roof leaks is to prevent them from developing in the first place. Incorporate these proactive maintenance habits into your spring and fall home care routine:
- Keep Roof Surfaces Clear: Remove accumulated leaves, pine needles, and tree branches from valleys and behind roof penetrations. Wet organic matter holds moisture against the aluminum and promotes surface corrosion.
- Trim Overhanging Trees: Prevent branches from rubbing against panels or falling onto the roof during seasonal storms.
- Conduct Semiannual Visual Inspections: Safely inspect your roof twice a year from the ground using binoculars, or from a securely placed ladder at the eave line. Look for backed-out screws, cracked pipe boots, and lifting seam edges.
- Keep Up with Expert Guidance: Staying informed on seasonal home maintenance preserves the value and safety of your home. You can explore our collection of expert roofing blog articles for seasonal advice and maintenance recommendations.
Frequently Asked Questions About Aluminum Roof Repairs
What is the most durable sealant for an aluminum roof?
High-solids polyether (MS polymer) sealants and 100% exterior silicone sealants formulated for metal roofing offer the highest durability. They withstand intense UV exposure, resist temperature extremes without cracking, and remain flexible enough to accommodate the natural thermal expansion and contraction of aluminum panels.
Can you walk directly on an aluminum roof during repairs?
You can walk on an aluminum roof if it is fully supported by solid wood decking beneath, but caution is necessary. Always step flat-footed in the flat pans between the ribs, ideally close to the fastener rows where structural framing supports your weight. Avoid stepping on raised seams, corrugated ridges, or unsupported spans to prevent permanently denting the metal panels.
How quickly should a leak in a metal roof be addressed?
A roof leak should be repaired immediately. Even a minor trickle can quickly saturate attic framing, degrade wood sheathing, and encourage mold growth within 24 to 48 hours. Addressing moisture intrusion quickly protects your structural decking and helps you avoid costly interior repairs.
Conclusion
Taking care of small aluminum roof leaks early preserves your home's framing, prevents interior drywall damage, and ensures your metal roof continues performing reliably through every season. Whether replacing a weather-worn fastener washer or resealing an aging roof penetration, using proper materials and clean surface preparation makes all the difference.
If your roof shows signs of widespread leaks, persistent moisture stains, or you simply prefer having a certified expert handle the work safely, South Bend Roofing Siding & Window Co. is here to help. Serving homeowners across Indiana and Michigan with over a century of local roofing expertise, our certified team is ready to assist. Contact South Bend Roofing Siding & Window Co. today at (574) 288-4764 for our trusted local roofing solutions, free roof inspections, and written estimates.